How to Install LangFlow with Docker Compose and Add SSL Over CloudFlare Tunnels
Learn how you can install LangFlow with docker compose and Postgres DB and take advantage of no-code AI flows. Add SSL over CloudFlare tunnels
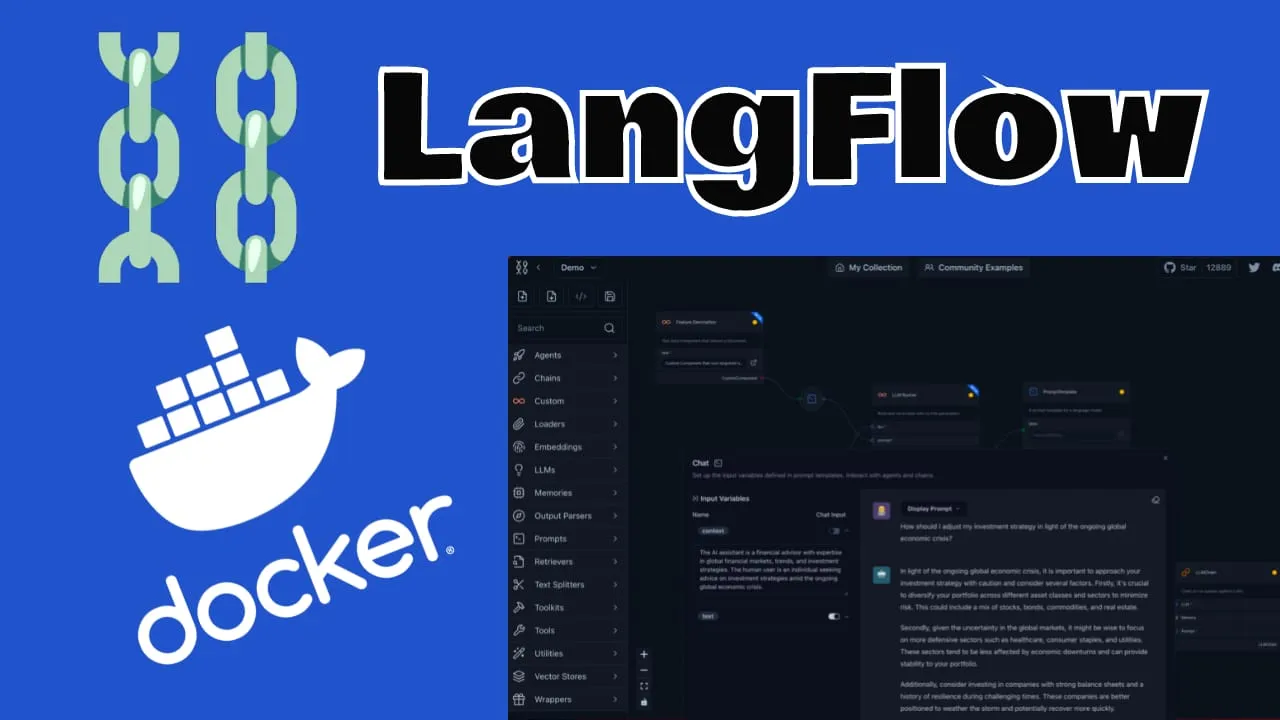
LangFlow is an open-source platform for creating, prototyping, and deploying AI workflows visually. Now at version 1.8+, it has added MCP (Model Context Protocol) support, dark mode, built-in knowledge base ingestion and retrieval, and works with the latest models including GPT-5 and Gemini 2.5. The drag-and-drop interface lets you build complex AI pipelines without writing much code, which makes it accessible to both developers and non-technical users.
Comparison with Flowise AI
Both LangFlow and Flowise AI aim to simplify AI workflow creation, and both have matured a lot over the past year. You can check How to Install FlowiseAI with Docker Compose for more on Flowise.
LangFlow tends to offer more flexibility and customization, with features like MCP support and built-in knowledge base management. It works well for users integrating many different LLMs and tools. Flowise AI has its own improvements and may be a better fit if you want something more streamlined with a gentler learning curve.
Which one to pick depends on your project needs and how much customization you want. Worth trying both to see what fits.
If you are interested to see some free cool open source self hosted apps you can check toolhunt.net self hosted section.
Setting Up Langflow with Docker Compose
In case you are interested to monitor server resources like CPU, memory, disk space you can check: How To Monitor Server and Docker Resources
1. Prerequisites
Before you begin, make sure you have the following prerequisites in place:
- VPS where you can host LangFlow, you can use one from Hetzner or use a Mini PC as Home Server
- Docker and Dockge installed on your server, you can check the Dockge - Portainer Alternative for Docker Management for the full tutorial.
- CloudFlare Tunnels are configured for your VPS server, the details are in the article here I deployed Dockge
- OR reverse proxy with CloudPanel you can check: Setup CloudPanel As Reverse Proxy with Docker and Dockge
You can use also Traefik as a reverse proxy for your apps. I have created a full tutorial with Dockge install also to manage your containers on: How to Use Traefik as A Reverse Proxy in Docker
2. Docker Compose File
services:
  langflow-db:
    image: postgres:16-alpine
    container_name: Langflow-DB
    hostname: langflow-db
    healthcheck:
      test: ["CMD-SHELL", "pg_isready -U ${POSTGRES_USER} -d ${POSTGRES_DB}"]
      interval: 5s
      timeout: 5s
      retries: 5
    volumes:
      - ./langflow-db:/var/lib/postgresql/data:rw
    environment:
      POSTGRES_DB: ${POSTGRES_DB}
      POSTGRES_USER: ${POSTGRES_USER}
      POSTGRES_PASSWORD: ${POSTGRES_PASSWORD}
    restart: on-failure:5

  langflow:
    image: langflowai/langflow:latest
    container_name: Langflow
    user: root
    ports:
      - 5060:7860
    healthcheck:
      test: timeout 10s bash -c ':> /dev/tcp/127.0.0.1/7860' || exit 1
      interval: 10s
      timeout: 5s
      retries: 3
      start_period: 90s
    restart: on-failure:5
    depends_on:
      - langflow-db
    environment:
      LANGFLOW_DATABASE_URL: postgresql://${POSTGRES_USER}:${POSTGRES_PASSWORD}@langflow-db:5432/${POSTGRES_DB}?sslmode=disable
      LANGFLOW_CONFIG_DIR: /var/lib/langflow
      LANGFLOW_SUPERUSER: ${LANGFLOW_SUPERUSER}
      LANGFLOW_SUPERUSER_PASSWORD: ${LANGFLOW_SUPERUSER_PASSWORD}
      LANGFLOW_AUTO_LOGIN: False
    volumes:
      - ./langflow:/var/lib/langflow:rw
Let’s break down this Docker Compose file and explain what each section is doing:
-
Services: We define two services -
langflow-dbandlangflow. -
langflow-db service:
- Uses the
postgres:16-alpineimage, which is a lightweight PostgreSQL database. - Sets up a health check to ensure the database is ready before other services start.
- Mounts a volume to persist database data.
- Uses environment variables for database configuration.
- Restarts on failure, with a maximum of 5 attempts.
- Uses the
-
langflow service:
- Uses the latest LangFlow image.
- Exposes port 5060 on the host, mapping to port 7860 in the container.
- Implements a health check to verify the service is running correctly.
- Depends on the
langflow-dbservice, ensuring the database is up before starting. - Sets various environment variables for LangFlow configuration.
- Mounts a volume for persistent storage of LangFlow data.
This configuration allows for a robust and scalable LangFlow setup, with separate containers for the application and its database, health checks to ensure reliability, and persistent storage for both the database and LangFlow data.
3 .env file for LangFlow
To keep our sensitive information secure and our configuration flexible, we’ll use a .env file to store environment variables. Create a file named .env in the same directory as your Docker Compose file with the following content:
POSTGRES_USER='user'
POSTGRES_PASSWORD='pass'
POSTGRES_DB='langflow'
LANGFLOW_SUPERUSER=bitdoze
LANGFLOW_SUPERUSER_PASSWORD=bitdoze
This file sets up the necessary environment variables for our PostgreSQL database and LangFlow superuser. Remember to replace these placeholder values with secure, unique values for your production environment.
4. Deploy The Docker Compose File for LangFlow
With our Docker Compose and .env files in place, we’re ready to deploy LangFlow. Open a terminal, navigate to the directory containing these files, and run:
docker compose up -dThis command will start our LangFlow setup in detached mode, allowing it to run in the background.
5. Implementing SSL with CloudFlare Tunnels
CloudFlare Tunnels let you connect your web applications to the internet without public IP addresses or open inbound ports. The service creates a secure tunnel between your server and CloudFlare’s edge network.
Here’s how it works:
- Outbound Connection: Your server initiates an outbound connection to CloudFlare’s network using the CloudFlare daemon (cloudflared).
- Tunnel Creation: This connection establishes a secure tunnel between your origin and CloudFlare’s edge.
- Traffic Routing: Incoming requests to your domain are routed through this tunnel to your origin server.
- Response Delivery: Responses from your server are sent back through the tunnel and delivered to the user.
This means you don’t need traditional port forwarding or firewall rules — all traffic goes through the tunnel.
Go in Access - Tunnels and choose the tunnel you created and add a hostname that will link a domain or subdomain and the service and port.

You can also check Setup CloudPanel as Reverse Proxy with Docker and Dokge to use CloudPanel as a reverse proxy to your Docker containers or How to Use Traefik as A Reverse Proxy in Docker.
6. Access the LangFlow UI
After you set the CloudFlare tunnels you can go and access you LangFlow UI and start building your first flow. You can logun with the user and password that you have set in the .env file.

That’s it — you’ve set up LangFlow using Docker Compose with a PostgreSQL database and SSL through CloudFlare Tunnels. Version 1.8+ brings MCP support, dark mode, knowledge base ingestion/retrieval, and works with GPT-5 and Gemini 2.5.
LangFlow’s visual interface makes it straightforward to experiment with different AI models, build agentic workflows, and deploy pipelines. The project moves fast, so it’s worth keeping an eye on new releases.
If you want to explore more Docker containers for your home server, check out our guide on Best 100+ Docker Containers for Home Server.