How to Self-Host Your Newsletter with Notifuse - Complete Guide
Learn how to self-host your own newsletter platform using Notifuse. Complete guide with Docker Compose and Dokploy deployment options.
Self-hosting a newsletter platform gives you control over subscriber data and email delivery costs. Notifuse is an open-source tool that handles both newsletters and transactional emails. It’s a solid alternative to Mailchimp or Listmonk if you want to run things on your own hardware.
This guide covers setting up Notifuse using Docker Compose or Dokploy.
Notifuse features
Notifuse is built for developers who want to manage their own email infrastructure. It runs on your server, so you own the data and can customize the setup as needed.
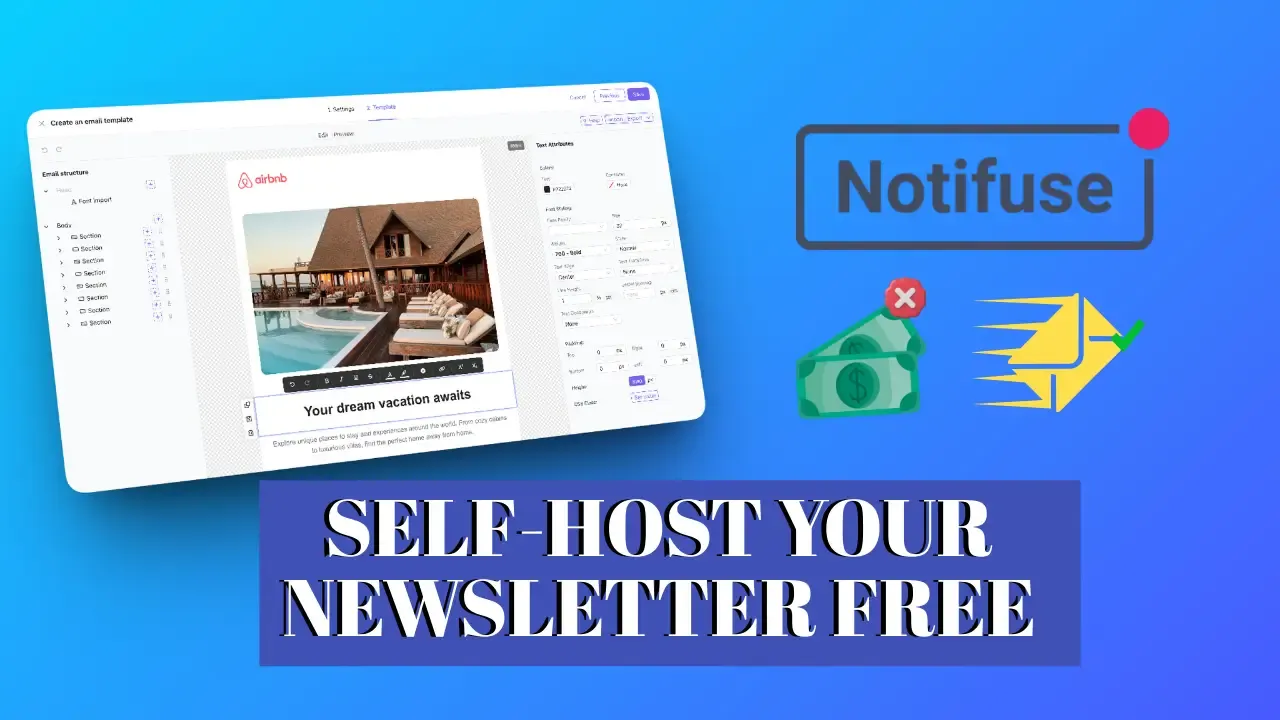
- MJML visual builder: Design responsive emails with drag-and-drop. It handles the CSS quirks for Gmail, Outlook, and Apple Mail.
- Multi-tenant workspaces: You can manage multiple projects or clients from one instance, each with its own domain and database isolation.
- Dynamic segmentation: Filter your audience with real-time rules and custom attributes.
- A/B testing: Test subject lines or content variations to see what works better.
- Marketing and transactional emails: Use the same platform for weekly updates and automated system emails.
- ESP integrations: Connects to Amazon SES, Mailgun, Postmark, and others.
- SMTP relay: Includes an SMTP server to bridge older apps into the platform.
- API and webhooks: RESTful APIs for programmatic contact management and sending.
- History timeline: See every interaction a contact has had with your emails.
Why use Notifuse?
Versus SaaS (Mailchimp, ConvertKit):
- No monthly subscription fees.
- You keep all your data on your own server.
- No limits on contact numbers or sending volume (beyond what your SMTP provider allows).
Versus Listmonk:
- Better visual editor (MJML-based vs basic HTML).
- Native support for multi-tenancy.
- More advanced segmentation and built-in A/B testing.
Versus Sendy:
- Free and open-source (no upfront license fee).
- More modern interface.
- Includes a visual builder out of the box.
What you’ll need
- A server: 2GB RAM and 2 CPU cores is usually enough.
- A domain: For the web interface (e.g.,
newsletter.yourdomain.com). - An SMTP provider: To actually send the mail.
- Brevo: Good for testing (300/day free).
- Mail.Baby: Cheap pay-as-you-go ($1/month + $0.20 per 1k emails).
- Amazon SES: Most cost-effective at scale ($0.10 per 1k emails).
- Docker: If you’re doing a manual install.
SMTP tips
Start with Brevo’s free tier to test the setup. Move to Mail.Baby or Amazon SES once you’re ready to send to a larger list.
Option 1: Deploy with Dokploy
Dokploy is a PaaS that simplifies Docker deployments. It has a pre-built Notifuse template that configures the database and networking for you. If you don’t have it yet, see the Dokploy installation guide.
1. Install Dokploy
Run this on your VPS:
curl -sSL https://dokploy.com/install.sh | sh2. Use the template
- Log in to Dokploy and create a new project.
- Click Templates and search for Notifuse.
- Click Deploy.
3. Enter configuration
Fill out the form:
- Domain: Your subdomain (e.g.,
newsletter.yourdomain.com). - SMTP details: Host, port, username, and password from your provider.
- Admin email: Your main login email.
Security keys: Generate your own PASETO keys at paseto.notifuse.com. Don’t use the defaults for production.
4. Set DNS records
Point an A record to your server’s IP address:
- Type: A
- Name: newsletter
- Value: Your VPS IP
5. Finalize deployment
Click Deploy. Dokploy will pull the images, set up PostgreSQL 17, and handle SSL via Let’s Encrypt. Once finished, you can log in at your chosen domain.
Option 2: Deploy with Docker Compose
If you want more control, you can use Docker Compose manually.
1. Install Docker
curl -fsSL https://get.docker.com -o get-docker.sh
sudo sh get-docker.sh
2. Set up the project
mkdir ~/notifuse && cd ~/notifuse3. Create docker-compose.yml
services:
  api:
    image: notifuse/notifuse:latest
    ports:
      - '8080:8080'
      - '587:587'
    environment:
      - SERVER_PORT=8080
      - SERVER_HOST=0.0.0.0
      - ENVIRONMENT=production
      - DB_HOST=postgres
      - DB_PORT=5432
      - DB_USER=postgres
      - DB_PASSWORD=${DB_PASSWORD}
      - DB_NAME=notifuse_system
      - DB_SSLMODE=disable
      - PASETO_PRIVATE_KEY=${PASETO_PRIVATE_KEY}
      - PASETO_PUBLIC_KEY=${PASETO_PUBLIC_KEY}
    depends_on:
      postgres:
        condition: service_healthy
    volumes:
      - ./data:/app/data
    restart: unless-stopped
    networks:
      - notifuse-network

  postgres:
    image: postgres:17-alpine
    environment:
      - POSTGRES_USER=postgres
      - POSTGRES_PASSWORD=${DB_PASSWORD}
      - POSTGRES_DB=postgres
    volumes:
      - postgres-data:/var/lib/postgresql/data
    restart: unless-stopped
    networks:
      - notifuse-network
    healthcheck:
      test: ['CMD-SHELL', 'pg_isready -U postgres']
      interval: 5s
      timeout: 5s
      retries: 5

volumes:
  postgres-data:

networks:
  notifuse-network:
    driver: bridge
4. Add .env file
DB_PASSWORD=your_secure_password
PASETO_PRIVATE_KEY=your_private_key
PASETO_PUBLIC_KEY=your_public_key
5. Start the services
docker-compose up -d6. Reverse proxy (Nginx)
Install Nginx and Certbot:
sudo apt install nginx certbot python3-certbot-nginx -yCreate /etc/nginx/sites-available/notifuse:
server {
    listen 80;
    server_name newsletter.yourdomain.com;

    location / {
        proxy_pass http://localhost:8080;
        proxy_set_header Host $host;
        proxy_set_header X-Real-IP $remote_addr;
        proxy_set_header X-Forwarded-For $proxy_add_x_forwarded_for;
        proxy_set_header X-Forwarded-Proto $scheme;
    }
}
Enable it and get an SSL certificate:
sudo ln -s /etc/nginx/sites-available/notifuse /etc/nginx/sites-enabled/
sudo systemctl reload nginx
sudo certbot --nginx -d newsletter.yourdomain.com
Initial setup
Visit your domain and follow the wizard:
- Admin email: Set your login.
- API endpoint: Your full URL (e.g.,
https://newsletter.yourdomain.com). - SMTP: Enter your provider details.
- Account: Create your admin password.
Using Notifuse
Workspaces
Everything in Notifuse happens inside a workspace. Create one first (e.g., “Personal Blog”) to start managing contacts.
Contacts and Lists
You can import contacts via CSV or add them manually. Set up lists to group subscribers and use double opt-in to keep your list clean.
Templates and Campaigns
The MJML builder lets you drag and drop elements. Once a template is ready, create a campaign, select your list, and send or schedule it.
Transactional API
You can send automated emails using the REST API:
curl -X POST https://newsletter.yourdomain.com/api/v1/send \
  -H "Authorization: Bearer YOUR_API_KEY" \
  -H "Content-Type: application/json" \
  -d '{
    "to": "user@example.com",
    "subject": "Welcome!",
    "template": "welcome-email",
    "variables": { "name": "John" }
  }'
Cost comparison (10k subscribers)
- Notifuse: ~$5 for a VPS + ~$5 for SMTP = ~$10/month
- Mailchimp: ~$150/month
- ConvertKit: ~$120/month
Maintenance
Updates
In Dokploy, click Redeploy. For Docker Compose:
docker-compose pull && docker-compose up -dBackups
Back up the PostgreSQL database regularly:
docker exec <container_name> pg_dump -U postgres notifuse_system > backup.sqlSummary
Notifuse is a powerful, cheaper alternative to SaaS newsletter platforms. It gives you full control over your data and is easy to set up with Dokploy or Docker Compose. Pair it with a cheap SMTP provider like Amazon SES or Mail.Baby to run a professional newsletter for the cost of a basic VPS.
FAQ
Can I migrate from Mailchimp?
Yes. Export your contacts as a CSV and import them into Notifuse. You’ll need to recreate your templates in the MJML builder.
Is there a sending limit?
Notifuse has no limits. Your limits will come from your SMTP provider (e.g., Amazon SES or Mail.Baby).
Do I need to be a developer?
The interface is user-friendly, but you’ll need basic server knowledge to set it up. Once running, it’s all point-and-click.
Can it handle transactional emails?
Yes, it’s built for both marketing campaigns and automated system emails via API.